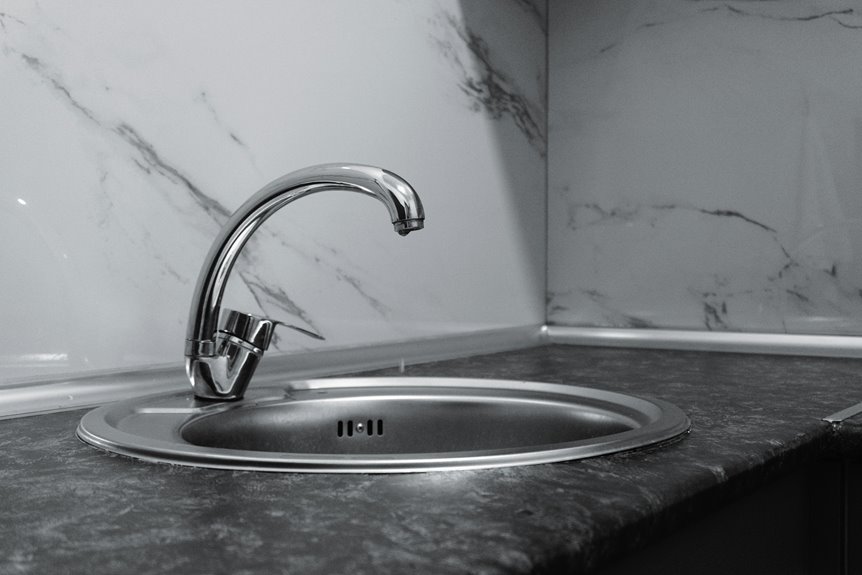
Is it really hard to take off a Grohe kitchen faucet, or does it just seem that way until you know the steps? Initially, shut off both valves under the sink and lift the handle to make sure the water’s truly off. Then gather your tools, remove the handle, loosen the mounting nut, disconnect the lines, and lift the faucet out with care, because the part that looks simple is often the one that hides the trick.
Turn Off the Water Supply
Before you touch any faucet parts, turn off the water supply under the sink so you don’t get an unexpected spray in the face.
You’ll usually find two shutoff valves, one for hot and one for cold. Turn both clockwise until they stop, but don’t force them.
Then lift the faucet handle and feel for pressure. Should water still run, check the main supply line and make sure every valve is closed.
A dry sink area helps you work with calm hands and fewer surprises.
In case the valves feel stuck, stay patient and wiggle them gently. You’re not alone in this step; plenty of homeowners pause here and do it right.
Once the water stops, you can move on with confidence.
Gather the Tools You Need
Now that the water is off, pull together every tool you’ll need so the rest of the job feels steady instead of stressful. You’ll want an adjustable wrench, a basin wrench, a screwdriver set, pliers wrapped with tape, and a flashlight. Keep a towel, bucket, and drain plug nearby too, because small parts like to wander.
Check faucet compatibility before you start, since Grohe models can use different fasteners and shapes. Set each tool where you can reach it without digging, and give the wrench jaws a quick look for wear. Good tool maintenance now saves you from slips later.
Whenever everything is ready, you’ll feel like you’ve got a small crew beside you, and that calm makes the next step much easier.
Remove the Faucet Handle
Initially, you’ll find the small set screw under the handle cap, so use a flathead screwdriver to pop the cap off gently.
Then loosen that screw and lift the handle assembly straight up, keeping a steady hand so nothing slips.
Once the handle is off, you’ll have clear access to the parts below and can keep moving with confidence.
Locate Set Screw
With the handle still in place, you need to find the small set screw that locks it to the faucet body.
Look under the handle or near its base, where the set screw location is usually concealed from plain sight. A flashlight helps, and a calm, steady search saves you time.
Once you spot the opening, slip in the right hex key and test the fit before turning. Provided it seats cleanly, you’re in the right spot.
Turn it counterclockwise with gentle pressure, because forcing it can strip the screw and make the job harder. Keep one hand on the handle as it loosens so it doesn’t drop.
After the screw releases, the handle will lift away smoothly, and you’ll be ready for the next step.
Remove Handle Cap
Since the set screw is loose, you can move on to the handle cap and start freeing the faucet handle itself.
Slip a flathead screwdriver under the cap edge and twist gently so you don’t mar the finish. You might feel a small click as it pops free, and that’s normal.
In case the cap feels stuck, pause and look at the cap textures and cap materials, because Grohe parts can vary a little between models. A soft cloth can help protect polished surfaces while you work.
Keep a steady grip, and don’t rush this part. You’re not fighting the faucet; you’re just giving it room to come apart cleanly.
Once the cap is off, you’ll have clear access for the next step.
Lift Off Handle
Now that the cap is off, you can lift the Grohe handle free and keep the rest of the faucet on track. Hold the handle steady with one hand, then pull it straight up so you don’t nick the stem or scratch the finish. In case it feels stuck, wiggle it gently instead of forcing it.
You’re doing the kind of careful work that makes handle maintenance easier later and sets you up for cartridge replacement.
- Check for a concealed set screw initially
- Keep the handle aligned as you lift
- Use a soft cloth for grip
- Don’t twist hard on the stem
- Set the handle aside where it won’t roll
That little pause now saves you trouble later and keeps the job feeling calm and manageable.
Remove the Mounting Hardware
Grip the faucet base firmly and start loosening the mounting hardware from under the sink.
You’ll usually find a mounting nut holding the faucet in place, and a basin wrench makes this job much easier in tight spots.
Turn the nut counterclockwise, then keep one hand on the faucet so it doesn’t twist or drop.
Should your Grohe setup have an underside reinforcement plate or bracket, remove that next so the base can move freely.
Work slowly, because old parts can stick a little, and that’s normal.
In the event the nut feels stubborn, reset your grip and try again with steady pressure.
Once the hardware is free, you’re ready to lift the faucet out cleanly and keep the sink area neat.
Disconnect the Supply Lines and Sprayer Hose
With the faucet body already loose, you can move on to the supply lines and sprayer hose without much fuss. Put a bucket below the connections, then loosen each supply nut with your wrench. Should your Grohe setup use quick disconnects, press the collar and pull the line free.
For sprayers, look for check valves near the hose joint and release them gently so you don’t crack anything. Keep one hand under each fitting, because a little water often sneaks out and that’s normal.
- Stay calm in case a few drops fall.
- Keep towels close for quick cleanup.
- Work one connection at a time.
- Set removed parts together so they’re easy to find.
- Take a breath whenever a fitting feels stuck.
Lift Out the Faucet
Once the supply lines and sprayer hose are free, you can lift the Grohe faucet body out of the sink opening. Keep one hand on each side of the base, and raise it straight up so it doesn’t catch on the countertop. In case it feels stuck, wiggle it gently instead of forcing it. That little pause can save your sink and your mood.
As you lift, watch for corrosion detection around the mount and observe any rusty spots that might’ve held the faucet in place. Also, check that no water pressure is pushing trapped water back through the lines. Then guide the body clear of the hole and set it on a towel nearby. You’re almost there, and this part should feel like a clean win.
Clean the Sink Area
The sink area deserves a careful cleanup now, because leftover grime can hide small problems and make the next steps harder. You’ve already lifted the faucet, so take a minute to reset the space with care.
Wipe the basin, rim, and mounting hole with a damp cloth, then use mild cleaner to lift grease and old putty. This helps you sanitize crevices and spot any chips or rust.
- Brush away crumbs and debris
- Dry the surface so slips don’t happen
- Check for loose caulk around the opening
- Polish fixtures with a soft towel
- Keep parts nearby in a safe tray
If water spots stay behind, go over them again. A clean sink area makes you feel in control, and that confidence matters whenever you’re working under the cabinet.
Frequently Asked Questions
How Do I Identify My Grohe Faucet Model Number?
Check your Grohe faucet’s serial tag under the base or inside the handle, then match it to the model guide. You’ll identify the correct style quickly, making kitchen repairs more precise and informed.
What Should I Do if the Faucet Handle Is Stuck?
Spray penetrating oil at the handle screw, wait 10 to 15 minutes, warm the area slightly with a hair dryer, then turn the handle with a snug fitting screwdriver while moving it back and forth to break the corrosion loose.
How Can I Avoid Scratching the Sink During Removal?
You can prevent scratches by lining the basin with soft padding. I once slid a towel under a stuck faucet and kept the finish intact. Hold the faucet steady as you lift it, wrap the pliers with tape, and work slowly.
What if the Mounting Nut Is Corroded or Seized?
If the nut is corroded or seized, spray on penetrating lubricant, wait a few minutes, then apply gentle heat and try loosening it with steady force. Keep the faucet supported, maintain even pressure, and repeat the process patiently.
How Do I Know When Hoses Need Replacement?
Replace hoses when you see leaks, bulges, cracks, or corrosion. About 60 percent fail from wear at first. Track their age too. If a hose is older than 8 years, replace it for peace of mind.