

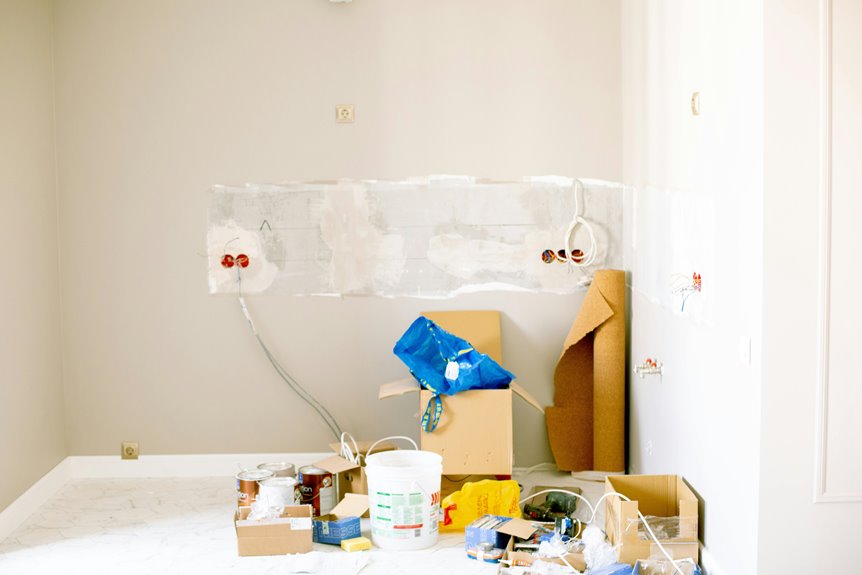
In case your ceiling has a few unhappy spackle spots, you can smooth them out without turning the room into a mess. You’ll start prepping the area, then you’ll prime those patches so they don’t drink in paint like thirsty little ghosts. After that, the right ceiling paint, a steady hand, and a careful rolling pattern will help everything blend in so the fixes don’t shout for attention.
Prepare the Spackle Ceiling
Before you pick up a roller, take a few calm minutes to get the room ready. Move furniture to the center, drape it well, and spread drop cloths so every step feels safe. Tape the wall tops and cover light fixtures, because dust control matters as much as neat paint. Wear goggles and a hat, then check the ceiling with a few water drops to spot old finishes. Should you find rough spackle, smooth it now so texture blending later looks natural, not patched in a hurry.
Next, gather your roller, brush, and tape in one place. That small setup keeps you steady and helps you feel like this job belongs to you, not the other way around.
Prime Spackle Patches First
Start via spot priming each spackle patch so the bare filler doesn’t soak up paint at a different rate than the rest of the ceiling.
You’ll also want to seal the patch edges, since that keeps the repair from flashing through once the topcoat dries.
Choose a primer that matches your ceiling’s sheen and texture, and the finished area will blend in much more naturally.
Spot Prime First
Give those spackle patches a quick spot primer so they don’t stand out later. You’ll save yourself from dull flashes and patchy color once the topcoat goes on.
Use a small brush or roller to spot prime each repair, then let it dry fully. Should the patch sit proud or feels rough, lightly sand it initially so the primer lays down cleanly.
Next, feather blend the primer just past the repair edge, so the ceiling reads as one surface, not a busy map of fixes. On textured spots, work the primer into the pattern without flooding it.
For smooth areas, keep the coat thin and even. That little extra step helps you feel more confident, and your ceiling starts looking like it belongs with the rest of the room.
Seal Patch Edges
Now that the spot primer has dried, you can seal the patch edges so the repair blends into the rest of the ceiling instead of drawing the eye like a tiny spotlight. Use a small brush and light pressure. This edge sealing helps you build feathered shifts, so the patched area doesn’t look boxed in.
| Step | What to do | Why it helps |
|---|---|---|
| 1 | Load a little paint | You control the edge |
| 2 | Brush outward | You soften the line |
| 3 | Feather lightly | You hide the patch |
| 4 | Check from below | You spot hard edges |
| 5 | Touch up once | You keep it neat |
Work a bit past the repair, then fade your strokes into the nearby ceiling. You’ll feel more confident, and the patch will sit quietly with the room instead of announcing itself.
Match Ceiling Sheen
A smooth ceiling finish can make or break the repair, so you’ll want the spackle patch to disappear before you even contemplate about the final coat.
Start by priming the patch, because primer evens out absorbency and helps the paint read the same across the whole ceiling.
Then check the existing sheen. Should your ceiling look flat, use flat paint. Should it have a soft glow, pick a low-sheen finish that matches that light reflectance. This step matters most near windows and lamps, where shine jumps out fast.
Also, keep texture matching in mind, since a patched area can still catch the eye even when the color is exactly right.
A quick test swatch can save you from that awkward “why does that spot stare at me?” feeling.
Choose Ceiling Paint and Tools
Pick a ceiling paint made for the job, like a flat interior acrylic-latex or a paint-and-primer blend, so you get smooth coverage and fewer touch-ups.
You’ll also want the right tools, including a roller with the right nap for your ceiling texture, a brush for tight edges, and a pole to help you work with less strain.
Once you match the paint and tools to the surface, you make the whole project feel a lot easier and get a cleaner finish.
Ceiling Paint Type
For the best finish, choose a ceiling paint made for the job, because regular wall paint can show flaws more easily on overhead surfaces. You’ll get the smoothest look whenever you pick flat paint with low voc formulations and acrylic blends that hide patches well. This helps you feel confident, not fussy, as you work overhead.
| Pick | Why it helps |
|---|---|
| Flat sheen | Softens small flaws |
| Ceiling formula | Stays less shiny |
| Low VOC | Smells gentler indoors |
| Acrylic blend | Dries tough and even |
| Paint and primer | Saves you a step |
Then match the paint to your ceiling texture. A smooth ceiling needs a finer finish, while a bumpy one needs better build. With the right can in hand, you’ll belong in the “I’ve got this” crowd.
Essential Painting Tools
The right tools can make a spackle ceiling feel much less intimidating, because overhead painting is already hard enough without fighting the wrong gear. You’ll want a quality flat ceiling paint, a sturdy roller, and a brush for tight edges.
For roller selection, choose a 3/8-inch nap for smooth spots or a 1/2-inch nap for light texture, so you can hold paint without drips. Next, gather a paint tray, extension pole, and sanding sponge for quick touchups.
Good masking techniques matter too, so tape the walls, cover lights, and protect floors with drop cloths. Whenever you prep well, your ceiling work feels cleaner, safer, and a lot more like a team project you can handle with confidence.
Cut In the Ceiling Edges
Start through cutting in the ceiling edges, and you’ll give the whole room a cleaner, calmer look right away.
Use a steady brush and make short angle cuts where the ceiling meets the wall. Keep the paint line about 2 inches wide, so you leave enough room for the roller later.
In case the edge feels shaky, slow down and trust your hand. You can follow the seam with light, even strokes, then soften each pass with feathered edges. That helps the fresh paint blend in instead of shouting for attention.
Work in small stretches, and reload often so the bristles stay full. As you move around the room, keep your strokes consistent, and you’ll help the space feel neat, finished, and welcoming.
Roll the Ceiling in Sections
Working in small sections helps you keep control of the ceiling and the paint. You’ll feel less rushed, and your finish will look more even.
Start in one start quadrant, then move across a 5-square-foot area with steady strokes. Load the roller lightly so it doesn’t drip, and keep a gentle pressure as you work.
Overlap each pass about half to help maintain wet edge. That way, the fresh paint blends before it can set.
- Roll from the ceiling’s center toward the edges.
- Move in one direction, then cross over the next section.
- Reload the roller often, but don’t soak it.
When one section looks covered, shift right away to the next. You’re building a smooth ceiling, one calm stretch at a time, and that’s something you can feel good about.
Recoat Spackle Patches to Prevent Flashing
Usually, you’ll need one more light coat over each spackle patch before the ceiling looks truly even.
You want that extra pass because fresh patch material soaks up paint faster, and it can leave dull spots that break color consistency. Load your brush or roller lightly, then use the feathering technique to blend the edges into the surrounding ceiling.
Keep your strokes wide and gentle so the patch fades into the field, not the other way around. Should the ceiling have texture, match it with the same soft pressure you used before.
This small step helps the whole room feel finished and welcoming, like the repair was never there. Give the coat time to dry fully, then check the patch from several angles so you can catch any uneven sheen.
Fix Common Ceiling Paint Problems
Whenever ceiling paint goes sideways, you can usually calm it down with a few smart fixes instead of a full redo. To start, check for peeling, then do moisture testing so you don’t trap a damp spot under fresh paint.
Should you see patch lines or shine differences, sand lightly and repaint with thin coats.
For uneven texture, focus on texture blending through feathering paint past the repair and rolling in one direction.
- Fix tiny blisters by scraping loose paint and priming the bare spot.
- Match rough areas with the same roller nap you used before.
- Keep edges wet so the ceiling blends cleanly, not in stripes.
In case dust or stain keeps coming back, stop and solve that problem to begin with. Then your ceiling feels like it belongs together.
Frequently Asked Questions
How Long Should Spackle Dry Before Painting?
Wait until the spackle is completely dry, usually 1 to 24 hours depending on the product, thickness, and humidity. Check that it is firm to the touch, then sand it lightly and paint for a smooth, durable finish.
Can I Paint Over Old Ceiling Stains Without Sealing Them?
No, you should not paint over old ceiling stains without sealing them. They can bleed through the new paint and remain visible. Use a stain blocking primer first and check for any moisture issues so the ceiling finishes cleanly.
What’s the Best Way to Match Textured Patch Areas?
You’ll get the closest match by stippling wet spackle with a stiff brush, then sanding it lightly after it dries. Build the patch to mirror the surrounding texture, then match the paint color so the repair blends in and feels consistent with the wall.
Should I Sand Spackle Before or After Priming?
Sand the spackle after it dries and before you prime. This smooths the patch edges and helps the primer coat evenly. If the surface still feels rough, give it a light second sanding, then apply primer for a cleaner finish.
How Do I Clean Paint Drips From Popcorn Ceiling Texture?
You can remove fresh drips by blotting them gently with a damp sponge before they dry. For tougher spots, mist on a small amount of solvent with care. On a popcorn ceiling, gentle handling helps keep the texture intact.



