Address
304 North Cardinal
St. Dorchester Center, MA 02124
Work Hours
Monday to Friday: 7AM - 7PM
Weekend: 10AM - 5PM
Address
304 North Cardinal
St. Dorchester Center, MA 02124
Work Hours
Monday to Friday: 7AM - 7PM
Weekend: 10AM - 5PM

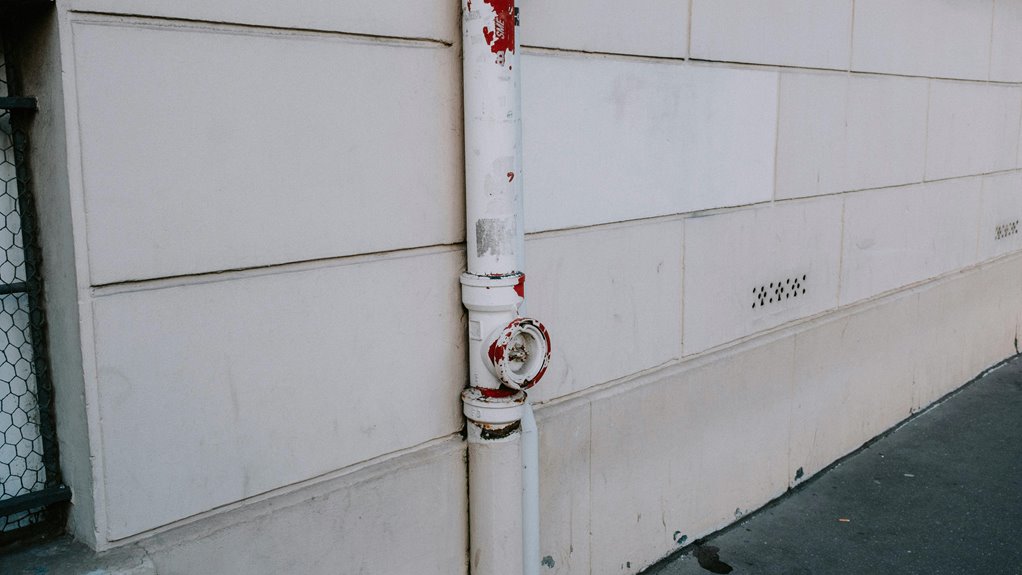
A sunbaked PVC pipe can look rough fast, but you can turn that plain white surface into a clean, lasting finish with the right prep. You’ll start washing away dirt and residue, then you’ll lightly scuff the pipe so the paint has something to grip. After that, primer and the right exterior paint can make all the difference, especially once weather tries to undo your work. The tricky part is choosing the steps that keep the coating from peeling later.
Before you pick up a brush or spray can, gather the right materials and tools so the job feels calm instead of messy. You’ll want plastic-rated paint, a clean spray nozzle, a Scotchbrite pad, rubber gloves, and a lint-free rag. Add mild cleaner, acetone, and 200 to 300 grit sandpaper for prep support. For color matching, hold your sample against the pipe in daylight so the finish feels right in your space.
Should you be painting outdoors, choose weatherproofing techniques such as paint made for PVC, plus a primer should the label call for it. Keep a stir stick, cardboard, and masking tape nearby too, so you can move smoothly and avoid last-minute scrambles. Once your kit is ready, you’ll feel like you belong in the process, not at its mercy.
Getting the surface ready is the part that makes the whole paint job feel worth it, because clean PVC gives the new finish something real to hold on to. Start with weather timing, and choose a dry, mild day so grime comes off easily. Wear protective gloves, then wash the pipe with ammonia-based cleaner or sugar soap to lift grease, dust, and sticky spots.
Use a soft pad or cloth to scrub every side, especially joints and elbows where dirt hides. Rinse well, then dry the pipe fully with a clean towel. Should you spot leftover film, wipe it again until the surface feels fresh and smooth.
Whenever you skip this step, paint can act shy and peel prematurely, which nobody wants after all that effort.
Now that the pipe is clean and dry, you can give the surface a light scuff so the paint has something to grip.
Use 200 to 300 grit sandpaper and wrap it around the pipe so it follows the curve. Then move it back and forth with gentle pressure, keeping your strokes even.
You’re not trying to gouge the PVC, just dull the shine and create fine abrasion patterns. Check your progress as you go, because the surface should look softly matte, not scratched up.
In case you feel smooth spots with tactile testing, give those areas another pass. Wipe away dust right away so it doesn’t clump and spoil your work.
With this careful step, you help the pipe join the painted finish like it belongs there.
In case you want the paint to hold up on PVC, primer can make a big difference.
You’re not just adding another layer. You’re giving the pipe a better grip so the finish feels like it belongs there.
Choose a primer made for plastic, because it acts as an adhesion promoter and a bonding agent at the same time.
After the surface is clean and lightly scuffed, apply a thin coat with steady strokes. Cover the pipe evenly, but don’t flood it. Let it dry fully before you move on, so the next layer can lock in well.
Should you skip this step, the paint might peel prematurely, and that’s a headache nobody wants.
A good primer helps your work stay neat, strong, and ready for the weather.
A good exterior paint can make PVC look clean and last much longer, so it’s worth choosing carefully.
You’ll want a paint made for plastic, because that bond holds up better outdoors and helps your project feel like it belongs with the rest of your home. Look for PVC-specific formulas, epoxy-based options, or spray paints labeled for plastic. These often support color longevity and include UV inhibitors, which help slow fading under bright sun.
Skip standard latex or basic acrylic paints, since they can peel or crack too soon.
Should you want a smoother match with nearby trim, pick a finish that fits your space, too. Whenever you choose the right product, you give your pipe a tougher, neater look that stays friendly to the weather.
To paint exterior PVC pipe evenly, you’ll want to start with a clean, lightly sanded surface so the paint can grab on right.
Then apply thin coats with smooth, steady passes, whether you use a brush, roller, or spray can, so you don’t end up with streaks or drips.
In case you keep rotating the pipe as you work, you’ll cover it more evenly and save yourself from that awkward patchy look nobody wants.
Start giving the PVC pipe a careful wash, because a clean surface makes the paint grip much better and saves you from peeling later. For weather timing, pick a mild, dry day, and for glove selection, wear rubber gloves so you stay safe and comfortable. Initially, scrub away grease with sugar soap or an ammonia cleaner. Then rinse well and let the pipe dry fully.
| Step | What you do |
|---|---|
| 1 | Wash with cleaner |
| 2 | Rinse and dry |
| 3 | Lightly scuff the surface |
| 4 | Wipe off all dust |
Next, sand the shine until the pipe looks dull. After that, wipe it with acetone and wait before painting. This keeps the surface ready, and it helps you feel like the job is truly yours.
Usually, the best paint job on PVC comes from patience, not heavy coverage, so keep your initial coat thin and controlled.
You’ll feel more in control whenever you mist on color with a steady spray technique and let the pipe show a little through.
That light layer grips better and helps the next coat sit smoothly.
Watch humidity effects too, because damp air can slow drying and make the finish look patchy.
In case the day feels sticky, give the paint more time between passes.
Build color with several thin coats instead of one thick one, and move at a calm pace.
Rotate the pipe as you work so each side gets the same attention.
Small, even layers help you get that clean, polished look your project deserves.
A brush and roller can give your PVC pipe a smooth, even look in case spray paint isn’t the best fit, but you do need a light touch. You’ll feel more in control, and that helps you join the group of DIYers who like a clean finish.
Start with a soft brush for tight spots, then use a small foam roller for the open areas. Keep your brush strokes gentle so brush textures stay subtle, not streaky.
Roll in one direction initially, then cross over lightly to blend roller patterns. Work in thin coats and reload often, because dry tools leave marks fast.
In the event the pipe curves, turn it as you go and keep your wrist relaxed. That steady rhythm helps you cover every side evenly.
Check the initial coat in good light so you can spot thin patches, streaks, or missed spots before they set.
In case the pipe still looks uneven, apply a second coat with the same light, even passes you used before.
That extra layer helps you get a smoother finish without leaving heavy marks or drips.
Once the initial coat dries, take a close look at the pipe in bright light and make sure the color looks even from end to end. This coverage inspection helps you spot thin spots before they stand out later. Should you’re unsure, do a quick opacity testing pass by comparing shaded areas with the rest of the surface. You want to feel confident, not guess.
When you find lighter areas, a second coat can bring everything together and help the finish look like it belongs. Trust your eye here; it’s part of the process, and you’re not alone in wanting a clean result.
Should the initial coat still looks a little uneven, don’t worry. You can fix it with a second coat, and you’re not behind. To begin, wait the full recoat time so the paint grips well. Then, lightly rotate the pipe and spray in steady passes. Keep each pass thin for better color matching and smoother coverage.
| Step | What to Do | Why It Helps |
|---|---|---|
| 1 | Check sheen | Spots show fast |
| 2 | Shake paint | Color stays even |
| 3 | Spray lightly | Drips stay away |
| 4 | Turn pipe | Coverage wraps fully |
| 5 | Use weatherproof additives | Finish lasts longer |
If you see thin patches, give them a gentle pass, not a heavy one. That keeps the surface looking like one team, not a patchwork crew.
Let the paint cure completely so your hard work actually lasts, because fresh paint can look dry before it’s truly ready. You’re part of the crew now, so give the pipe quiet time and space. Keep it away from weather effects like rain, dew, and harsh sun, which can slow the finish. Should you be able to, use indoor storage where airflow stays steady and dust stays low.
That patience helps the coating bond well and stay smooth. Soon, your pipe will look sharp and feel solid.
Even after the paint has cured, wear and weather can still leave you with peeling, chips, or a faded finish, and that can feel frustrating after all that prep work. Start through cleaning the damaged area, then scuff the edges so the new coat can grip. In the event the color looks off, do careful color matching before you paint, so the patch blends in like it belongs there.
| Problem | What you do |
|---|---|
| Peeling | Remove loose paint |
| Chips | Feather the edges |
| Fading | Recoat with a fresh layer |
| Repeat wear | Add protective coatings |
Use thin coats, not heavy ones, and let each layer dry fully. Should the pipe stays outdoors, seal it with protective coatings for extra strength. With a little patience, you can bring it back and keep it looking neat.
No, painting exterior PVC pipe in direct sunlight is a poor choice. Heat can cause the pipe to expand and make the paint dry too quickly, which hurts adhesion and finish quality. Work in the shade so the coating bonds better and lasts longer.
Let the pipe dry for 20 to 30 minutes after washing before sanding. If the surface feels cool or the air is humid, give it more time. Make sure it is completely dry so the sanding does not clog or damage the surface prep.
No, you do not need to remove glued fittings unless you want better access. You can paint them where they are, but make sure the primer is compatible and do not saturate the joints with adhesive solvents while cleaning or sanding.
Probably not. Cracking is unlikely if you use a flexible coating and allow for thermal expansion. With solid surface prep and thin paint layers, the pipe should handle winter conditions well.
You will usually repaint exterior PVC pipe every 3 to 7 years, depending on sun exposure, weather, and surface wear. Inspect it once a year, then choose a durable coating and a maintenance schedule that keeps the pipe looking well maintained.




