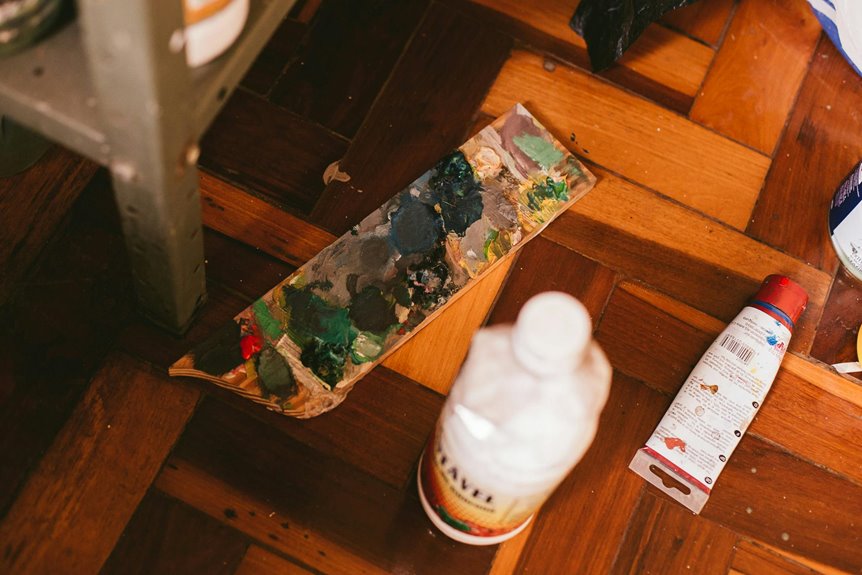
You can put oil paint on some floors, but the result depends on what’s under your feet and how much abuse the surface takes. Wood might drink it in, tile could shrug it off, and concrete usually needs a lot more prep than people expect. Should you want a finish that lasts, you’ll need to match the product to the floor, or the paint could start acting stubborn fast.
Can You Put Oil Paint on a Floor?
In most cases, you can put oil paint on a floor, but it’s not the best choice for every surface, and that’s where many people run into trouble. You can use it whenever you want a familiar finish, yet you should match the product to the floor and your goals. On the wrong base, you might face peeling, extra upkeep, health risks from fumes, and a bigger environmental impact than you expected. Should you be unsure, ask for a professional check before you start, because that can save you stress and wasted effort. For many people, the best path is the one that fits their space, their routine, and their comfort. That way, you feel confident, and your floor can pull its weight without drama.
How Different Floors React to Oil Paint
Hardwood usually reacts the worst to oil paint, since it can soak in unevenly and leave you with peeling or sticky spots. Concrete behaves differently because it’s porous, so it might accept a coating better, but only provided you prep it well and use the right product. Tile is the trickiest, because its smooth surface gives oil paint less grip, so you can end up fighting flaking from day one.
Hardwood Floor Reactions
Unlike concrete, hardwood reacts to oil paint in a much more sensitive way, and that’s where many DIY projects go off track.
You’re working with a living material that can shift, soak, and show every mistake fast.
Should you use the wrong product, you might see wood swelling, finish ambering, or a sticky surface that never feels right.
- Test a concealed spot initially
- Clean dust and grease away
- Lightly sand for better grip
- Expect slower drying on wood
- Allow the floor to cure completely
Concrete And Tile Differences
At the point you look at concrete and tile, it helps to keep in mind that these floors don’t react to oil paint in the same way, and that difference can save you a lot of frustration.
Concrete has open concrete porosity, so it can soak in paint, grip it, and sometimes hold it well after proper prep. Tile acts differently. Its glazed face resists paint, so tile adhesion can be weak unless you sand, clean, and use the right primer initially.
You should also watch for grout lines, which can pull in paint unevenly and leave patchy spots.
Why Oil Paint Fails on Floors
In case you put oil paint on a floor, it usually fails because floors take a lot more abuse than walls do. You walk, drag, and spill on it, so the film gets scuffed fast. Surface contamination like dust, grease, or old wax blocks grip, and ambient humidity can slow drying and leave the coat soft. That’s why the finish might peel, crack, or stay tacky. You’re not doing anything wrong should you want one neat coat, but the floor just asks more from the paint.
- Heavy foot traffic wears it down
- Dirt stops strong bonding
- Moisture weakens curing
- Bumps cause chips and flakes
- Slow drying leaves marks
Better Paint Options for Floors
For most floors, you’ll get better results with epoxy or the right floor oil instead of regular oil paint. You can match the coating to the room, and that makes your space feel cared for, not patched together.
Epoxy works well on concrete because it stands up to chemicals, scuffs, and busy traffic patterns. Should you have wood, a floor oil can feed the grain and leave a warmer finish that feels more natural underfoot.
You’ll also spend less time worrying about peeling, since the coating fits the surface better. As you plan maintenance schedules, these choices help you stay ahead of wear and keep the floor looking steady.
How to Prep a Floor for Oil Paint
Before you ever open the paint can, the floor needs the right prep, because oil paint won’t forgive shortcuts. Start by sweeping away grit, then scrub off grease and let the surface dry.
Do surface moisture testing on concrete or wood, so you know the base won’t trap water under the paint. Should you’re working on an old coating, sand it lightly so the new layer can grip.
Next, check primer compatibility with your chosen oil paint, since the wrong primer can cause peeling and sore disappointment.
- Clear dust and debris
- Remove oil or wax spots
- Test for concealed moisture
- Lightly scuff glossy areas
- Match primer to paint
How to Seal and Protect the Finish
You can lock in your floor’s look with a clear sealer that fits the paint and the surface underneath it.
Then you’ll want to add a protective topcoat so the finish can stand up better to scuffs, spills, and everyday foot traffic.
Choosing the right layer now can save you from a worn, patchy floor later.
Choosing A Clear Sealer
A clear sealer can make all the difference provided you want a painted floor to look finished and stay protected. You don’t need a fancy product, just one that fits your surface and lifestyle. Before you buy, do compatibility testing on a small concealed spot so the sealer won’t cloud, lift, or dull the paint. Then choose a clear coat that matches your floor type and your home’s traffic level. In case you’re part of a busy household, you’ll appreciate a finish that wipes clean without fuss.
- Check the label for painted floor use
- Test a concealed corner first
- Match sealer to oil paint
- Ask about maintenance intervals
- Pick low-odor options for shared spaces
When you plan ahead, your floor feels cared for, and that matters.
Applying Protective Topcoats
Protective topcoats often do the heavy lifting whenever you want your floor finish to last, so this step really matters. You should initially check that your base coat has cured, then clean away dust with a vacuum and a tack cloth. Next, apply thin, even passes with a roller or pad, and keep a wet edge so you don’t trap lines.
In case you used surface primers, let them bond fully before sealing. For sunny rooms, choose a topcoat with UV stabilizers, because they help the color stay steady. Then give edges one careful brush pass, and watch for puddles in corners.
After the opening coat dries, lightly scuff it, remove dust, and add a second coat provided the label calls for it. That’s how you keep the finish strong and share the floor with confidence.
Frequently Asked Questions
How Long Does Oil Paint Take to Dry on Floors?
You can expect oil paint on floors to be touch dry in about 6 to 8 hours, with full curing taking as long as 48 hours. Temperature, humidity, and airflow all affect how fast it dries.
Can I Walk on the Floor the Same Day?
No, avoid stepping on it the same day. Let the coating cure fully and keep feet off the surface so the floor hardens properly and finishes with a clean, durable result.
What Tools Are Best for Applying Floor Oil Paint?
Brush rollers and sprayer equipment work well for floor oil paint. Use brushes for edges, rollers for broad areas, and keep gloves, a mixer, and a tray nearby for smooth, even coverage.
Should I Use a Professional for Floor Coating?
Yes, hiring a contractor makes sense when your floor coating needs high durability, careful surface preparation, or warranty coverage. A skilled pro can improve adhesion, reduce application errors, and deliver a longer lasting finish that gives you peace of mind.
How Do I Remove Sticky Oil Paint Residue?
Wipe the residue with mineral spirits, lift it off with a plastic scraper, then wash the area, dry it well, and air out the room.